A kitchen island is the most requested feature in kitchen design, and also the one most often built wrong. A good island adds prep space, seating, and storage in one piece. A bad one blocks the fridge door and crowds the walkways.
The difference is rarely taste. It is measurements. This guide covers the island sizes that actually work, how many seats fit, the clearance rules professionals design to, and the layout choices that keep an island useful instead of in the way.
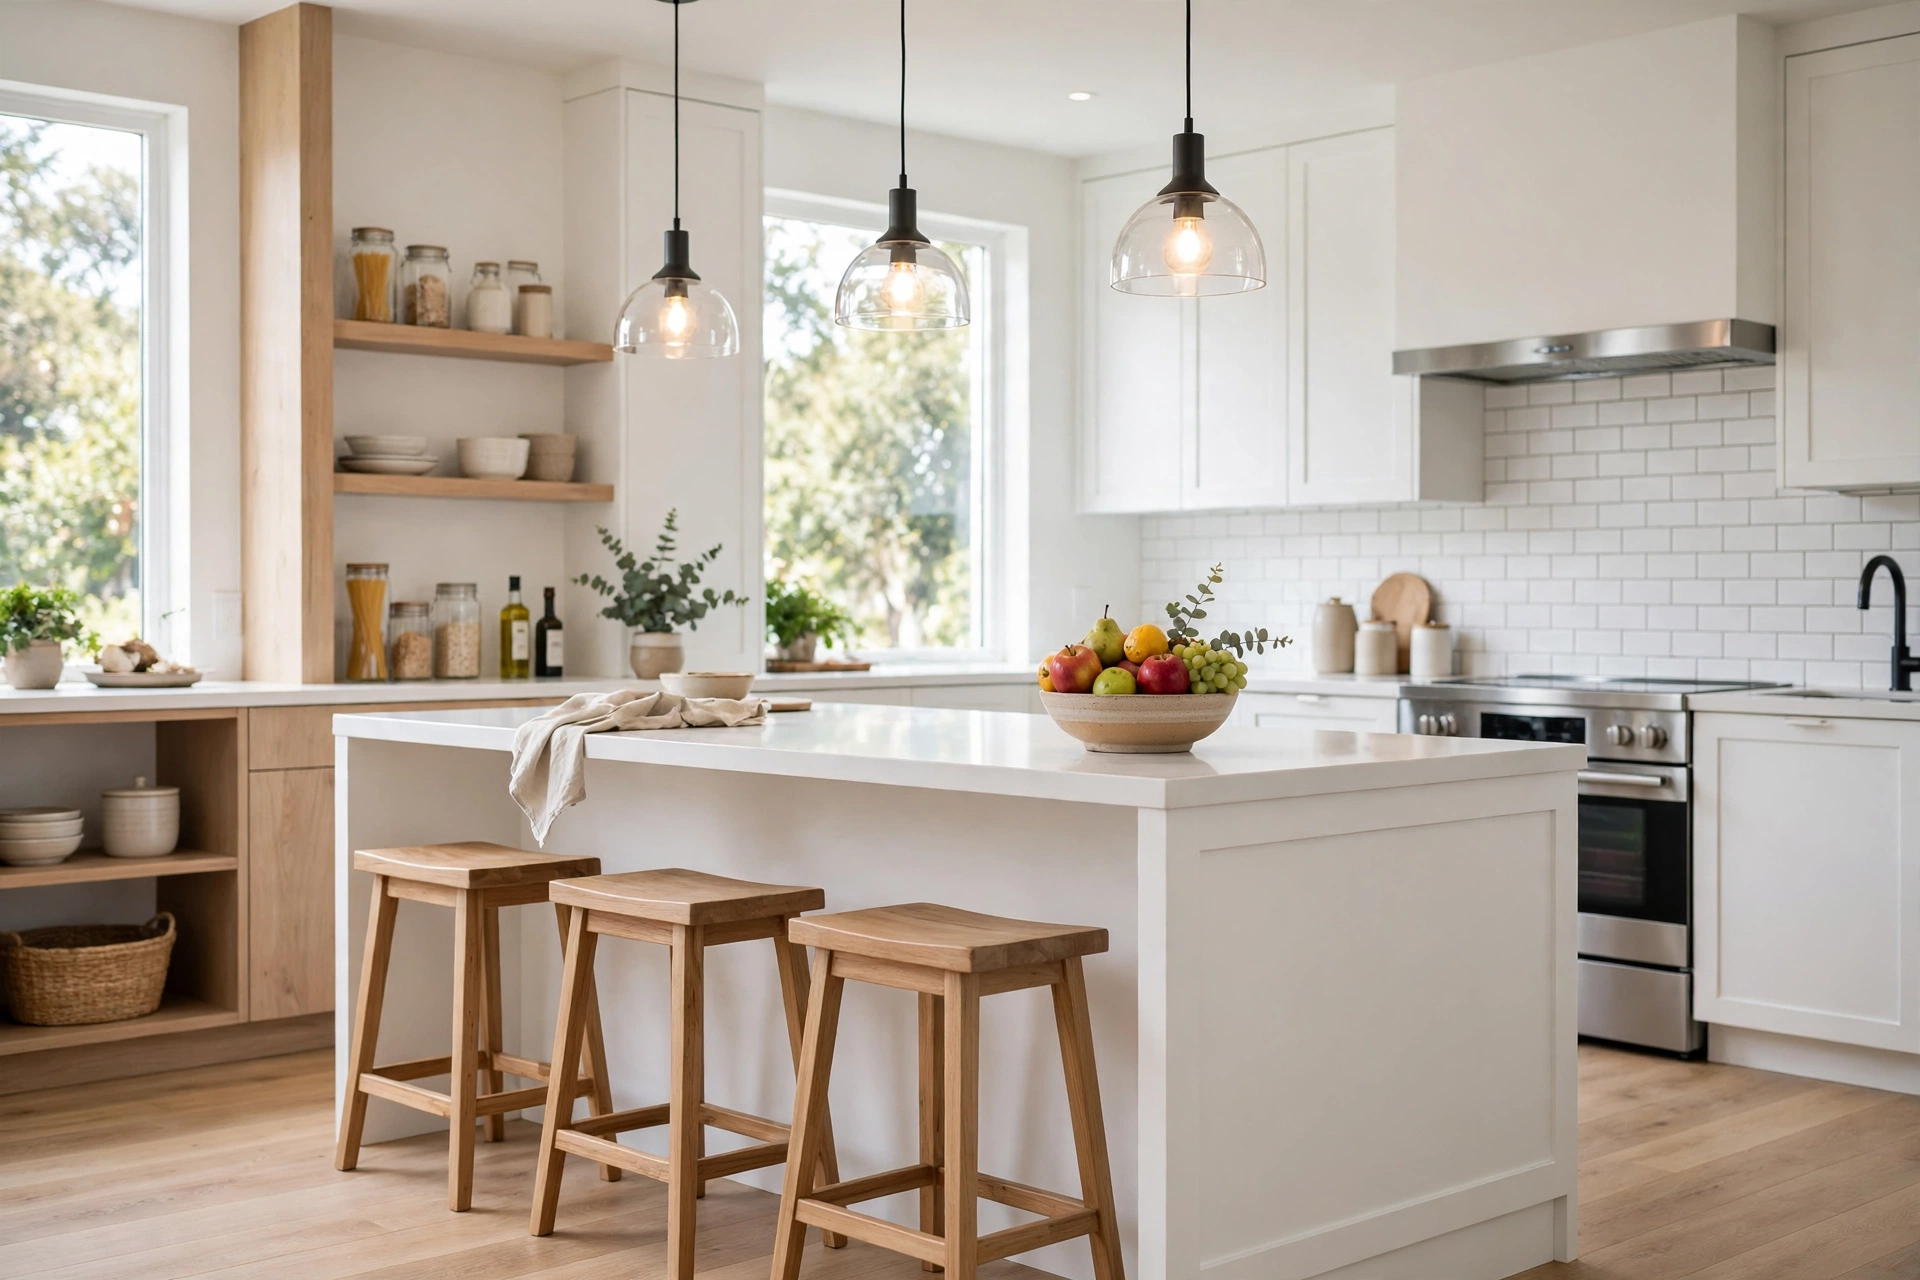
How big should a kitchen island be?
Start with the room, not the island. An island only works when the kitchen is big enough to hold it with proper walkways on all sides. The minimum kitchen size for a standard island is roughly 13 by 13 feet, and even then the island should be modest.
Here are the size ranges that work in real kitchens:
- Small island: 4 feet long by 2 feet wide. Fits a small kitchen, seats two people, and gives about 8 square feet of extra counter. Good for prep and casual breakfasts.
- Standard island: 6 to 7 feet long by 3 feet wide. The most common size. Seats three to four people and holds a sink or a small cooktop without feeling cramped.
- Large island: 8 to 10 feet long by 3 to 4 feet wide. Needs a big open-plan kitchen. Seats four to five, and can hold a sink, a cooktop, and storage at the same time.
- Extra-large island: 10 feet or longer. Only for very large kitchens. Anything longer starts to feel like a wall dividing the room, and one slab of countertop that long is expensive.
A useful rule of thumb: keep at least 42 inches of clear walkway on the working sides. If your numbers do not allow that, a smaller island or a peninsula is the better call. Before you commit to a size, draw it to scale on your 2D floor plan and walk the clearances on paper first.
Clearance rules that make or break an island
Clearances are the numbers that decide whether an island feels spacious or suffocating. Professionals design to these minimums:
- 42 inches between the island and the main counter run. This is the minimum for one person to work comfortably, open a dishwasher, and pass behind someone at the counter.
- 48 inches where two cooks work, or where the island faces a range or a refrigerator.
- 36 inches on the non-working side, for example between the island and a wall or a dining table. Tighter than this and chairs scrape, people squeeze, and the room feels narrow.
- 15 inches of knee space under any seating overhang, measured from the edge of the counter to the island body.
- 24 inches of counter width per seated person, so elbows do not collide.
Always size the island to the clearances, never the other way around: a 7-foot island with 36-inch aisles feels worse than a 5-foot island with 48-inch aisles, every single day.
Also check the swing of every door and drawer near the island: the refrigerator door, the oven door, the dishwasher, and any pull-out trash cabinet. A door that hits the island every time it opens will annoy you for years. This is exactly the kind of conflict a 3D render of your kitchen catches before anything is built, because you can see the doors open in the model.
Seating: how many stools fit, and what kind
Seating is where most island plans go wrong, because people count stools by the length of the counter instead of by the space each person needs.
Each seated person needs 24 inches of counter width and 15 inches of knee depth. That gives you the real seating count for each island length:
- 4-foot island: 2 seats
- 6-foot island: 3 seats
- 7-foot island: 3 to 4 seats
- 8-foot island: 4 seats
- 10-foot island: 5 seats
Stools with backs need about 18 inches of floor space behind the counter when pulled out, so allow 24 inches of clearance from the counter edge to any wall, table, or traffic path behind the seating side. Backless stools tuck fully under a 12-inch overhang.
Overhang depth matters too. A 12-inch overhang works for a quick breakfast bar. A 15-inch overhang is the comfortable standard for regular meals. If you want a raised bar section, it should sit 6 inches above the main counter, at 42 inches high, with a 12-inch overhang of its own. Avoid a raised bar if anyone in the house has mobility issues, because it makes the island harder to use as a work surface from a seated position.
Counter height is 36 inches for the main work surface. If you plan to use the island as a dining table for long meals, consider dropping a section to 30 inches, standard table height.
Layout rules: placement, shape, and what goes on the island
An island should help the work triangle, not break it. The work triangle connects the sink, the cooktop, and the refrigerator, and each leg should measure between 4 and 9 feet, with a total of 13 to 26 feet. The island should never cut through a leg of the triangle.
Shape choices:
- Straight rectangular island: the default, and the right choice for most kitchens. Simple, cheap to build, and easy to seat along one side.
- L-shaped island: good for open-plan kitchens where the island also defines the edge of the living area.
- Curved or rounded end: a rounded corner keeps traffic flowing and saves hips in tight aisles.
- Two-level island: a raised bar on one side hides cooking mess from guests and creates a clear dining zone. It costs more and eats counter space, so use it only when the kitchen is large enough.
What belongs on the island, and what does not:
A prep sink on the island is genuinely useful, because it turns the island into a second work zone. A cooktop on the island looks impressive but needs a downdraft vent or an overhead hood, which adds cost and a visual block. A dishwasher in the island works well, especially near the prep sink. Avoid putting the main sink and the main cooktop both on the island: that turns the island into the entire kitchen and leaves the perimeter counters empty and wasted.
Storage and function ideas that earn their space
An island that is just a box with a countertop wastes the most valuable storage in the kitchen. Use the side facing the cook for things you reach for while cooking, and the seating side for things you grab while eating.
- Deep drawers instead of doors on the working side, because drawers hold pots, pans, and small appliances where you can actually see them.
- A microwave drawer in the island, which frees counter space and keeps the microwave at a safe height.
- A pull-out trash and recycling station near the prep sink.
- Power outlets on the side of the island, at least two, so small appliances and phone chargers work at the island. Check local code: many areas now require outlets on islands over a certain size.
- A charging drawer with a built-in outlet keeps phones and tablets off the counter.
One caution: do not fill the island with so many built-ins that the island costs more than the rest of the kitchen. Pick two or three features that match how you actually cook, and leave the rest as simple drawers.
Common island mistakes to avoid
Most island regrets come from a short list of avoidable errors:
- Building the island too big for the room. The clearances suffer, and the kitchen feels smaller than before the island went in.
- Forgetting the dishwasher door. A dishwasher facing the island needs 48 inches of clearance, or the door blocks the aisle every time it opens.
- Too little overhang. A 9-inch overhang looks fine in a photo and is useless for sitting. Knees hit the island body, and nobody stays.
- No lighting plan. An island needs its own lighting. Pendant lights hung 30 to 36 inches above the counter, spaced 24 to 30 inches apart, are the standard. Recessed lights alone leave the island surface in shadow.
- Choosing the island before the layout. Pick the kitchen layout first, then size the island to fit it. An island chosen first forces compromises everywhere else.
- Skipping the render. A 3D render of the island in your actual kitchen shows the real proportions, the sightlines, and the clearances before you spend a dollar on cabinetry.
Frequently asked questions
How much does a kitchen island cost in 2026?
A basic stock island runs $1,500 to $3,000 installed. A semi-custom island with a stone countertop and seating overhang typically costs $3,000 to $7,000. A large custom island with a sink, appliances, and waterfall edges can reach $8,000 to $15,000 or more.
Can I add an island to an existing kitchen?
Yes, if the clearances allow it. Measure the distance between your existing counter runs first: you need at least 42 inches of aisle on the working sides after the island goes in. If plumbing or a cooktop is involved, the cost rises sharply, because moving water and gas lines is expensive.
How far should pendant lights hang above a kitchen island?
Pendant lights should hang 30 to 36 inches above the island countertop, spaced 24 to 30 inches apart. Keep the end pendants at least 6 inches from the ends of the island so the lights sit over the counter, not past it.
Is a kitchen island worth it for resale?
Yes, in most markets. A well-sized island is one of the most requested kitchen features among buyers, and it photographs well in listings. The exception is an island that crowds the kitchen: buyers notice bad clearances immediately, and a cramped island can hurt more than it helps.
Plan your island before you build it
The right kitchen island is sized to your room, not to a photo. Check the clearances, count the seats honestly, keep the work triangle intact, and light it properly. Get those numbers right and the island becomes the place everyone gathers, instead of the obstacle everyone walks around.
At DraftToDesign, our interior design service includes photorealistic 3D renders of your actual kitchen, so you can see the island, the seating, and the clearances before committing to cabinetry. See our pricing and get a free quote within 24 hours.